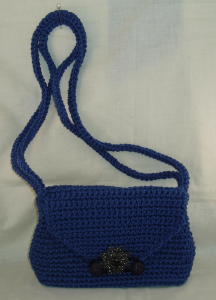
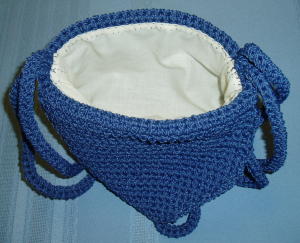
This is a purse I made to take on outings like Disneyland.
It is large enough to carry the few items I might need during the day.
I did not have a pattern;
I basically made it the shape of an old purse I had been using that was worn out.
The yarn I used was more like some kind of twine.
It came with a placemat kit I got from Mary Maxim.
I only made one placemat because I did not like the yarn.
It did work up nice for my purse, however. I like it because it does not stretch.
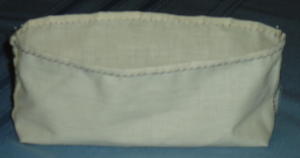
The material I used for my lining was muslin and I washed it first because it does shrink.
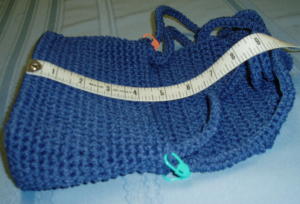
To determine the size, I first measured the front and side of my purse.
8" (front) + 2" (side) = 10" + 3/4" (seam allowance) = 10 3/4"
This was the width of my piece of material.

I measured the
front,
bottom
and back of my purse.
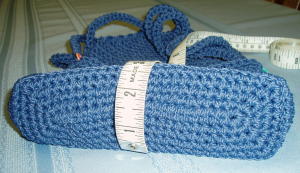
4 1/2" (front) + 2 1/2" (bottom) + 4 1/2" (back) = 11 1/2" + 1" (hem allowance) = 12 1/2"
This was the length of my piece of material.
leaving a 3/8" seam allowance on each side
Then, I folded the top edge down 1" for the hem.
At this point I ironed the side seams and top edge.
Next, I turned the edge of the fabric under about 3/8" before sewing the top hem.
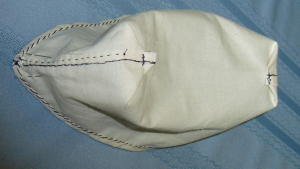

I also folded the two side corners under to square off the bottom
and tacked them in place
I have done both.
I even sewed the lining by hand on this one
because I like hand sewing
and it's more work than it's worth
for me to set up my sewing machine
for a small project.
You can attach the lining to the purse by machine.
Use a thread close to the color of the purse
and keep the line of sewing nice and even
around the top edge of the purse.
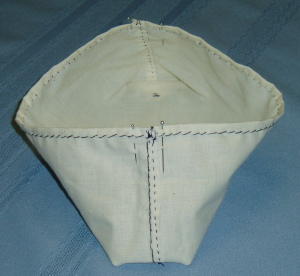
- remember to keep it wrong side out
so that the nice, neat finished side
is what shows inside the purse -
and center the side seams of the lining
at the center of each side of the purse.
The pins on either side of the seam
are marking the side of the purse.
The side of this purse is narrower
at the top than at the bottom.
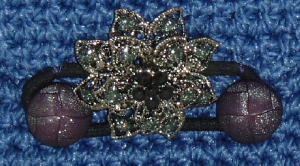
The flower was already attached to the elastic.
I sewed it onto the flap of the purse and used two buttons on the body of the purse.
I wanted something fairly easy to close and something that would stay closed.
The purse is soft and a snap is sometimes hard to press closed
so this is easy for me to handle and it stays closed.
I have taken it to Disneyland a couple times and the movie theater so I know it works for me.
After several years of use, the elastic is a bit stretched out. It still works, but it's just not as tight.
Tutorial: Sew a Lining for a Crocheted Bag
futuregirl.com
...lined a crochet purse using my sewing machine
getcrafty.com
Crochet Purse Pattern and Lining Instructions
Barb's Crochet
Discussion at Etsy forum
Etsy.com
Tutorial: Lining a Crochet Bag
While They Play
Lining a Purse
Crochet Style, etc.
How to Make a Sewn In Lining For a Crochet Purse
How to Make a Drop In Lining For a Purse
How to Line an Envelope Style Purse
Donna's Crochet Designs Blog of Free Patterns